Becoming an Xcode Power User
May 16, 2014
Until recently, I had notoriously bad typing habits and preferred using the mouse for most things. I decided to retrain myself lest I be shamed by developers worldwide and get better at using my tools sans mouse. Retraining went well but I still found Xcode’s keyboard shortcuts somewhat confusing until I attended a very timely talk at CocoaConf San Jose. It’s All In The Tools by @neror broke down Xcode’s different panels very logically to make a lot more sense of the shortcuts and key bindings.
How Xcode Is Laid Out
Xcode is actually laid out quite logically. On the left is the Navigator, center top is the Standard Editor, center bottom is the Debugger, and on the right is the Utilities panel.
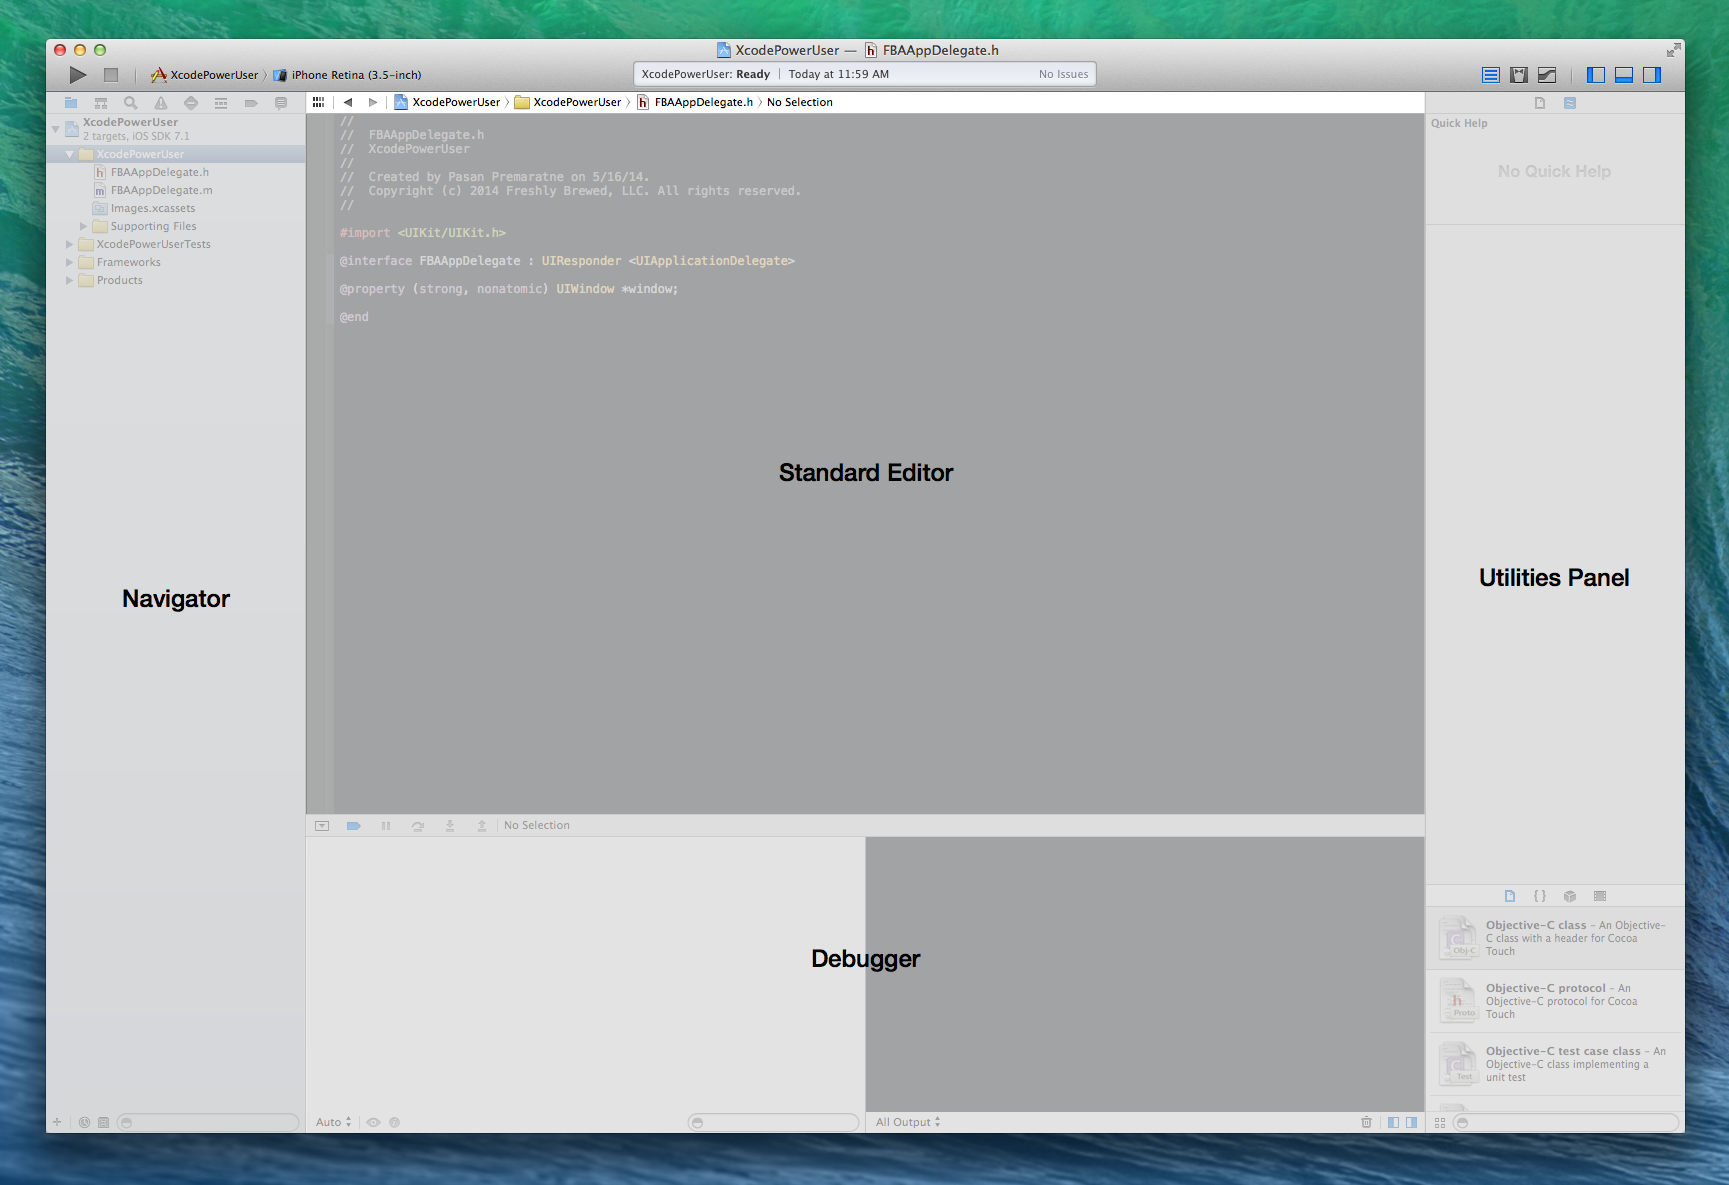
To navigate around all these panels we only need to remember three keys or what Nathan calls stacking modifiers. The Command key (⌘), Alt or Option key (⌥) and the Control key (⌃) gives you access to literally anything in Xcode.
Let’s start with the basics. Our objective is to maximize our editor space and only bring up relevant panels when we need it. To start with this clean slate:
- Press ⌘+0 to hide the Navigator
- ⌘⌥+ 0 to hide the Utilities Panel
- ⌘⇧+Y to hide the Debugger pane.

Note: Whenever you learn a new keyboard shortcut, try it out at least 10 times in a row to ingrain it in your muscle memory.
Command controls the Navigator
The base key to control the Navigator is the command key. Along with the command keys you use the number keys (1-6) to access the various tabs.

So ⌘+0 toggles between hiding and revealing the panel.
- ⌘+1 - Project Navigator
- ⌘+2 - Symbol Navigator
- ⌘+3 - Find Navigator
- ⌘+4 - Issue Navigator
- ⌘+5 - Test Navigator
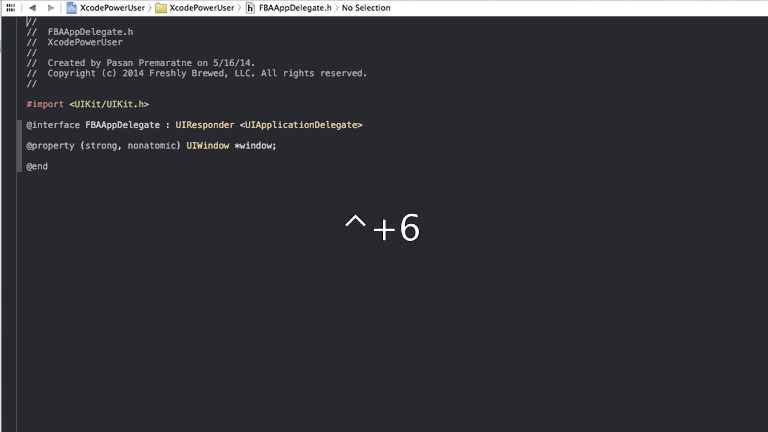
- ⌘+6 - Debug Navigator
- ⌘+7 - Breakpoint Navigator
- ⌘+8 - Log Navigator
Pretty simple right?
Command + Option controls the Utilities pane
Add an option to that combo and now you’re controlling the Utilities pane. Note: To easily hit that key combo you’ll want to do a thumb mash over ⌘⌥
The Utilities pane changes based on which view you are in. When in a Source File:

- ⌘⌥+1 - File Inspector
- ⌘⌥+2 - Quick Help Inspector
In Interface Builder:

- ⌘⌥+1 - File Inspector
- ⌘⌥+2 - Quick Help Inspector
- ⌘⌥+3 - Identity Inspector
- ⌘⌥+4 - Attributes Inspector
- ⌘⌥+5 - Size Inspector
- ⌘⌥+6 - Attributes Inspector
So far so good?
This is over kill because I don’t think I’d ever use this but you can even access the lower section of the Utilities panel by adding a Shift modifier to the combo.

- ⇧⌘⌥+1 - File Template Library
- ⇧⌘⌥+2 - Code Snippet Library
- ⇧⌘⌥+3 - Object Library
- ⇧⌘⌥+4 - Media Library
Now this might seem a lot to remember but you really don’t have to remember the actual combinations. Just remember Navigator is the Command(⌘) key plus numbers 1 - 8. To get to the Utilities panel add the Option(⌥) key (so ⌘⌥) along with the numbers 1 - 6. If you add a shift key to that, you get the lower panel of the Utilities panel. Soon you will remember the numbers to get to your most common areas of Xcode.
Assistant Editor
I’m not a big assistant editor user but after seeing what Nathan does I’m convinced I need to use it a whole lot more.
To open the assistant editor - ⌘⌥⏎
Unfortunately this key combo is not a toggle combination so you can’t press the same key combo to hide the assistant editor. To do that, you have to just use the shortcut to show the Standard Editor - ⌘⏎
Once you’re in the Assistant Editor, to change your focus area use the keys ⌥⌘`. This does not jump back and forth between the Standard and Assistant editors however, but cycles through all the focus areas including the Utilities pane, Debugger and Navigator.
Another way to change focus ares is with ⌘J. This brings up a nifty modal that allows you to select where you want your cursor.
The Jump Bar
The bar right below your workspace toolbar and right above the editor is called the Jump Bar and can be used to navigate to items at any level within your workspace.

From the docs:
A jump bar is an interactive, hierarchical mechanism for browsing items in your workspace. Each editor area includes a jump bar, as do Interface Builder and the documentation organizer. The configuration and behavior of each jump bar is customized for the context in which it appears.
Everything in the jump bar is accessed using Control (⌃) and numbers.
Note: If you don’t want to destroy your wrists when reaching for the Control key, I highly recommend mapping your Caps Lock key to be your Control key. Life changing. You can do this under System Preferences > Keyboard > Modifier Keys.
- ⌃+1 - Related items menu that shows files related to what you are currently working on
- ⌃+2 - Previous and next buttons to navigate between your most recent files
The rest of the jump bar consists of heierarchial navigation with each level given a separate shortcut.
- ⌃+4 - Project level navigation
- ⌃+5 - Switch between header and implementation files
- ⌃+6 - Navigation within a file
While it’s not obvious, you can start typing when in a navigation panel to filter through the results. So if you’re looking for a certain method definition, ⌃+6 to access list of methods in the jump bar, start typing to filter and then select the file (alternatively you could open up that section in the assistant editor by hitting ⌘⌥⏎).
So that’s the basics of how to navigate around the Navigator and Utilities panels and how to use the jump bar. But that’s not all, we can do some more cool stuff.
Open Quickly
One of the most amazing features I never knew about is Open Quickly. If you only learn one thing from this post, this is it.
⌘⇧+O (thats and ‘o’ and not a zero)
It is very good at matching and you can get to your files with minimal thinking.
When you find the file you’re looking for in Open Quickly, you just hit enter to open it. But if you don’t want to intterupt your workflow and move out of the current file you’re working on, you can open it in the assistant editor as well. Let’s say you’re working in HomeViewController.m and need to look in your header file.
- Hit ⌘⇧+O to open up the Open Quickly dialog
- Start typing HomeViewController.h to bring it up
- Hit ⌘⌥⏎ to open the file in the Assistant Editor
- When you’re done looking over the header file, hit ⌘⏎ to go back to the Standard Editor.

Accessing Documentation and Method Definitions
You can access documentation inline anywhere in Xcode by using ⌥+click to bring up a documentation bubble. But you don’t need the mouse to do that either. This one was confusing to figure out because the documentation says ⌃⌘?, but if you look at the keyboard you can’t really get a ? without pressing Shift. So the actual keys you have to press are ⌃⌘⇧/.
Accessing method definitions via shortcuts is one of my favorite discoveries. To access a method definition, make sure your cursor is over the method and press ⌘⌃+J and you will hop over to its definition (⌘⌃+← to go back to the file you were on). Isn’t this amazing?
It gets better. Try the same thing but with the Assistant editor combo (remember when we add Option/Alt to the key combo we do it in the Assistant editor instead). Make sure your cursor is over a method and press ⌘⌥⌃+J. You can read the definition without losing your place in the original file!
Other nifty shortcuts
To jump between your header and implementation file - ⌘⌃↑ or ⌘⌃↓
I think there’s plenty more to add but I need to dig through notes. Keep practicing until these become second nature. Oh and if some of these key combinations are annoying to you, you can always change them to suit your needs by going to Preferences > Key Bindings menu. The editor will notify you if there are conflicts with your chosen key binding so you don’t have to guess.
Also I realize I haven’t covered some of Xcode’s best features - behaviors. Don’t worry that’s coming soon.